Building Our 2020 East Tennessee Spring Garden | Plants, Progress, and Plenty of Lessons Learned
/It’s my third summer in East Tennessee and for the first time, I get to wake up to a growing garden every day.
“Building a garden” is different, in my mind, than planting a few rows of tomatoes. That’s my typical growing activity: plant a few plants from the grocery store and pepper in some herbs on my windowsill. Don’t get me wrong, this is fantastic and has always brought me great joy.
But, nothing compares to building a garden.
I’d catch Bryan’s attention and show him an endless scroll of curated images on Pinterest detailing the elements of my dream garden. I’d show him building plans for fences, videos DIY trellis designs, and talk endlessly about the plants we could grow in the small backyard we otherwise never use.
We’ve only been together just over a year, so undertaking big projects still hasn’t been at the top of our “to-do” list. Because honestly, big projects can kind of make or break a relationship.
I’d say that this one made ours.

June 30 | Biggest garden harvest to date of collards, bowl lettuce, and romaine in East Tennessee.

June 30 | Bryan next to the sunflowers at the entrance to our garden for scale… and they just keep growing!
We started with three plans: Plot, plants, and a garden materials list.
In March, we brought out the tape measure and my trusty architect’s notebook (which is really just an old school graph paper composition book in which I draw all my “building plans” in pencil. Plodding around the backyard, we started to imagine the boundaries of a planting space and considered whether or not to build raised beds or simply a fence.
When I lived in Florida, container gardens made the most sense. St Petersburg is basically an extension of the beaches on three of its four sides, with bahamia grass and weeds full of sandspurs making up the majority of groundcover. In short, the soil was nothing to write home about. Raised beds meant self-mixed soil ammendments and a hefty price tag before you could even plant your seeds. We’re currently working through a modified version of “Total Money Makeover,” so keeping ourselves to a tight budget, even for this dream project, was a top priority.
East Tennesee on the other hand, you can grow anything in this soil. I’m sure more experienced gardeners are more nuanced gripes, but I found that I could throw anything in the dirt and it sprang up with delight. I figured that with a bit of tilling and some gentle soil ammendment, we’d have the most luxurious dirt on the block.
We opted to build a fence around our L-shaped plot, as our yard is a haven for squirrels, bunnies, possums, and occasionally an urban fox, and to simply have mini “plots” inside its bounds, bordered by bricks I repurposed from other parts of our property.
Considerations for designing a garden (from our experience):
Pay attention to the light for a week or two in your chosen space. This will help you choose which plants will thrive based on their light requirements.
Put your activities on a timeline per what each step requires, not how fast you want to go. We should’ve let our grass die longer and probably shouldn’t have waited so long to plant our seedlings.
Draw, redraw, then draw to-scale. Drawing the fence and the trellises to scale afforded me exact measurements that fed into concise materials lists. This helped keep our costs planned and under control, and made building much more straightforward.
Our total budget for the garden was originally $500, including all the building materials for the fence, trellis material (which cost more than I estimated) soil ammendment, renting of tools (which we didn’t end up needs), and seeds (also, bulbs, because I decided a border of flowers on the fence was a necessity).
March 3 | Gallow the Greyt™ scoping out the future garden plot.

April 17 | We learned the hard way (basically, the above pictured didn’t work and some ready set us straight) that using black plastic bags doesn’t work nearly as well as clear plastic to kill grass. So, here was a lot left to till.
April 29 | Bryan finished tiling the L-shaped plot in about 8 hours over two days.
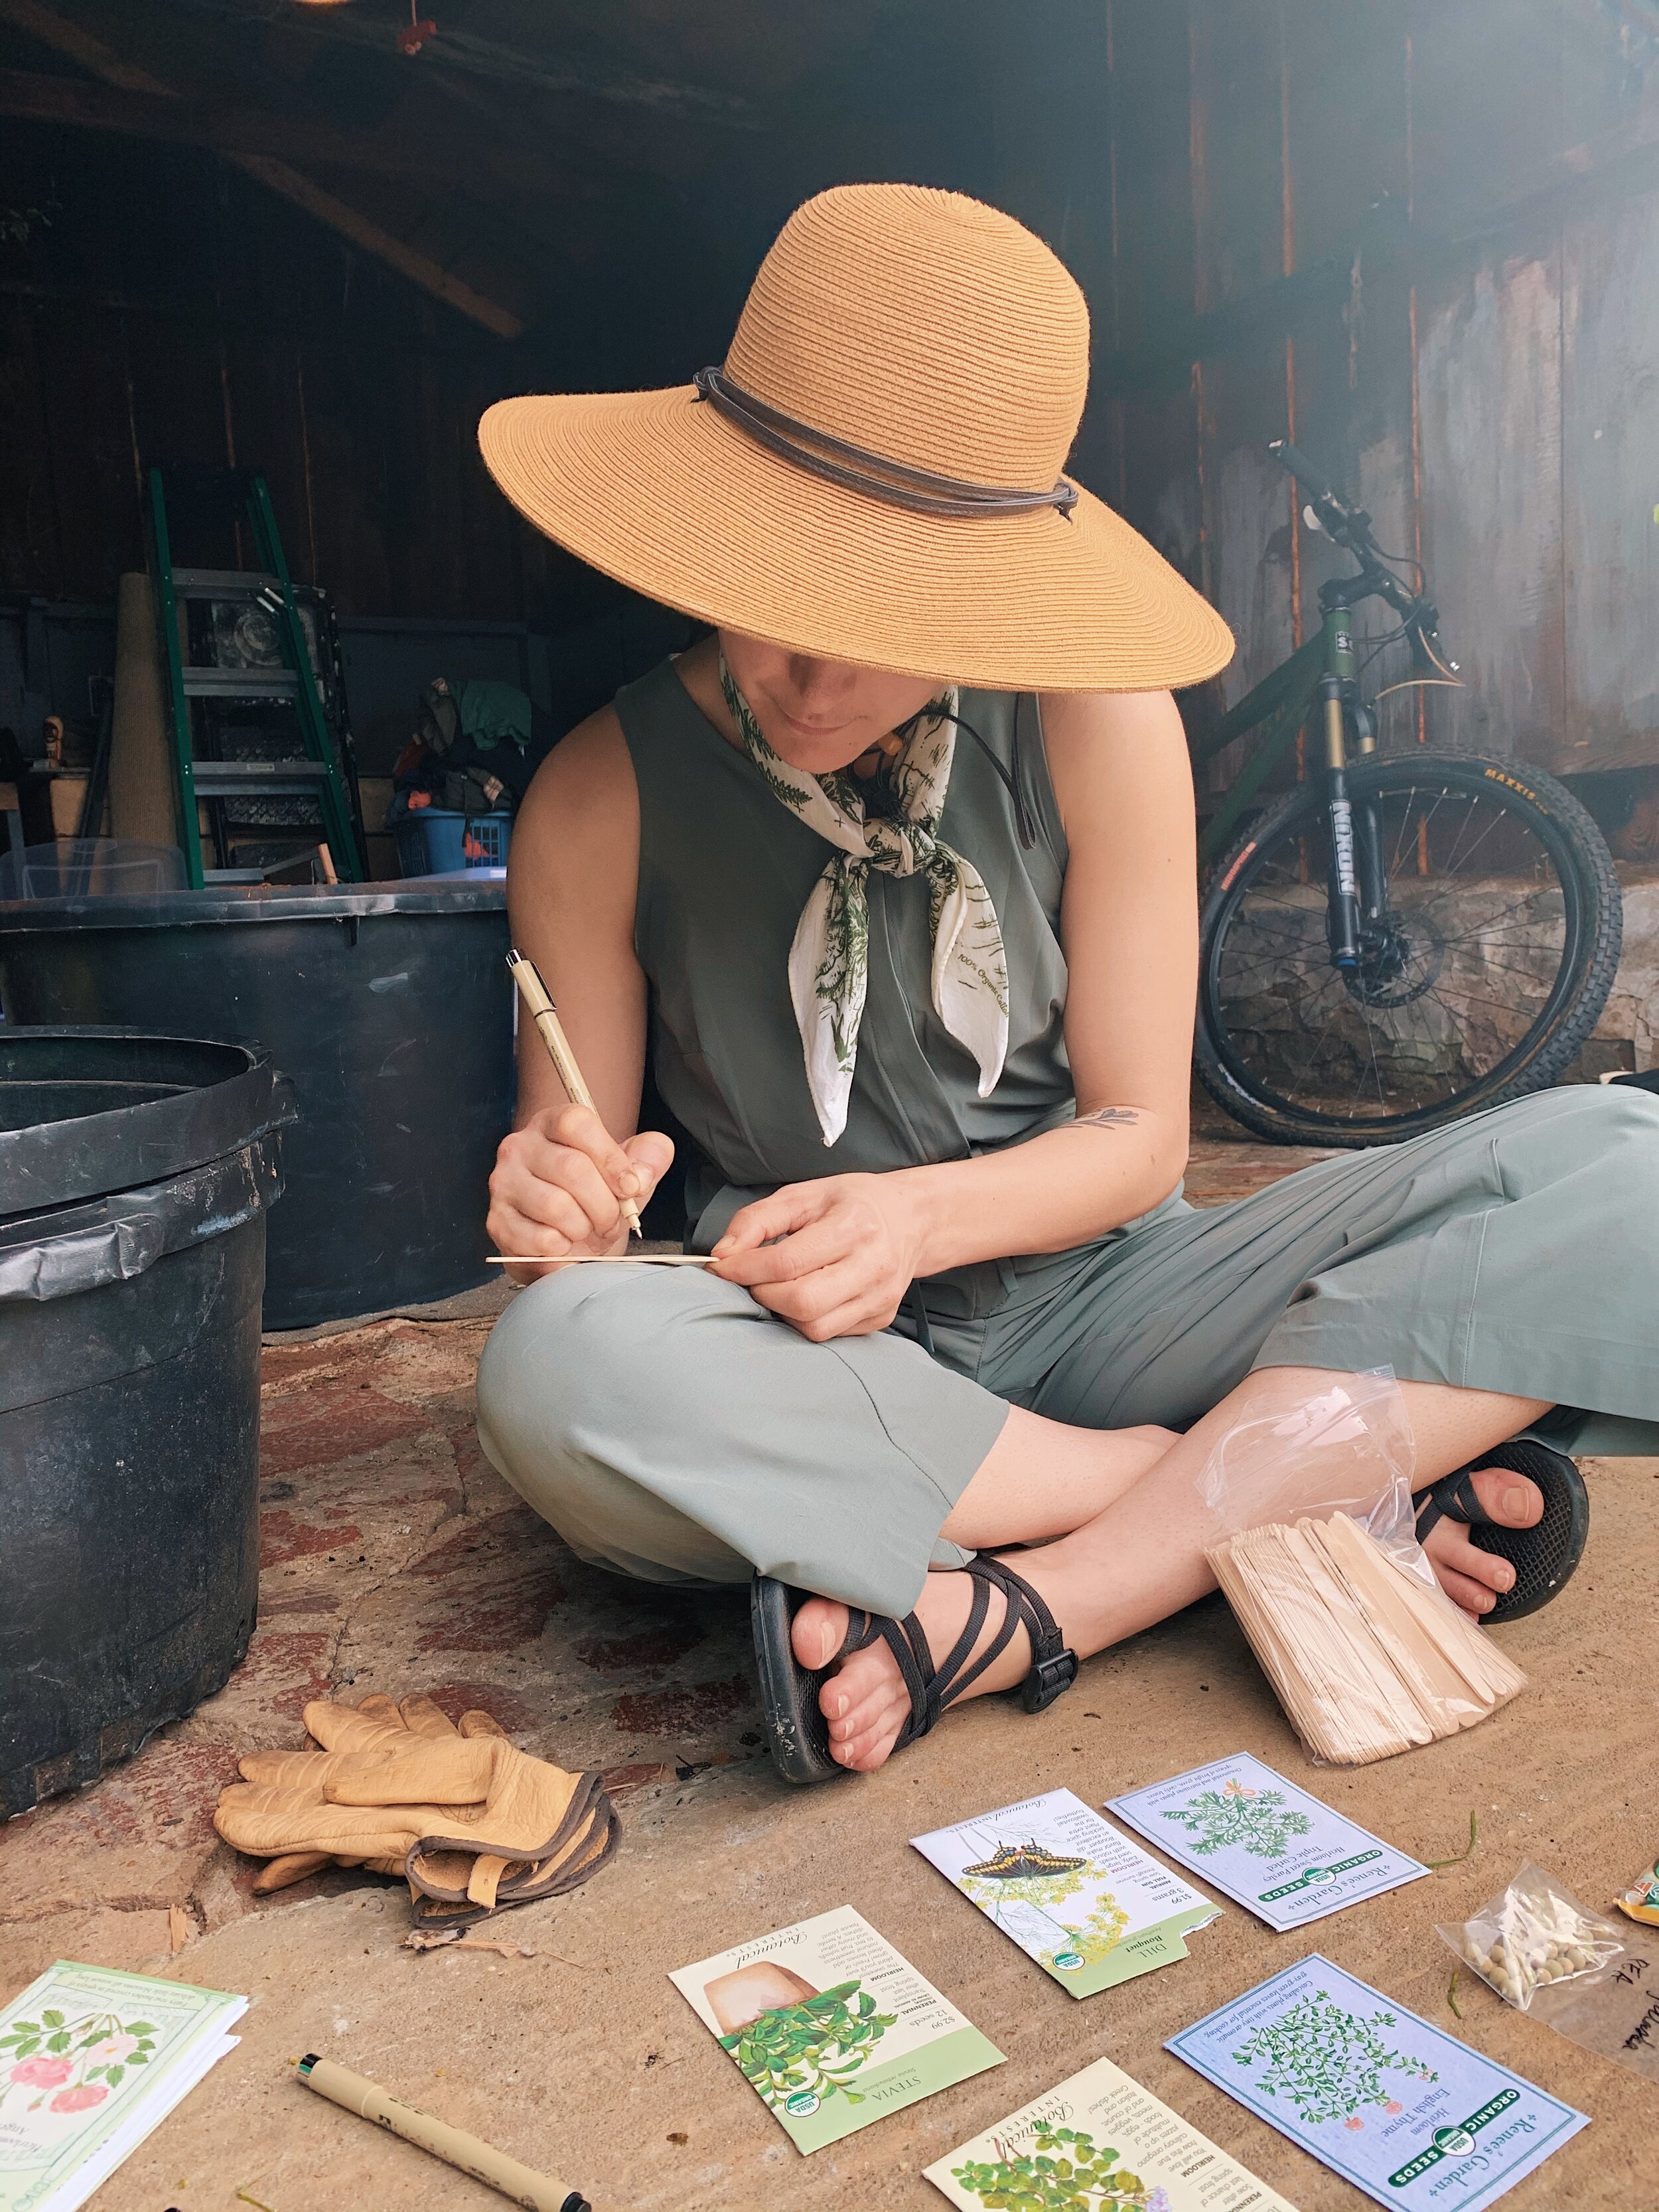
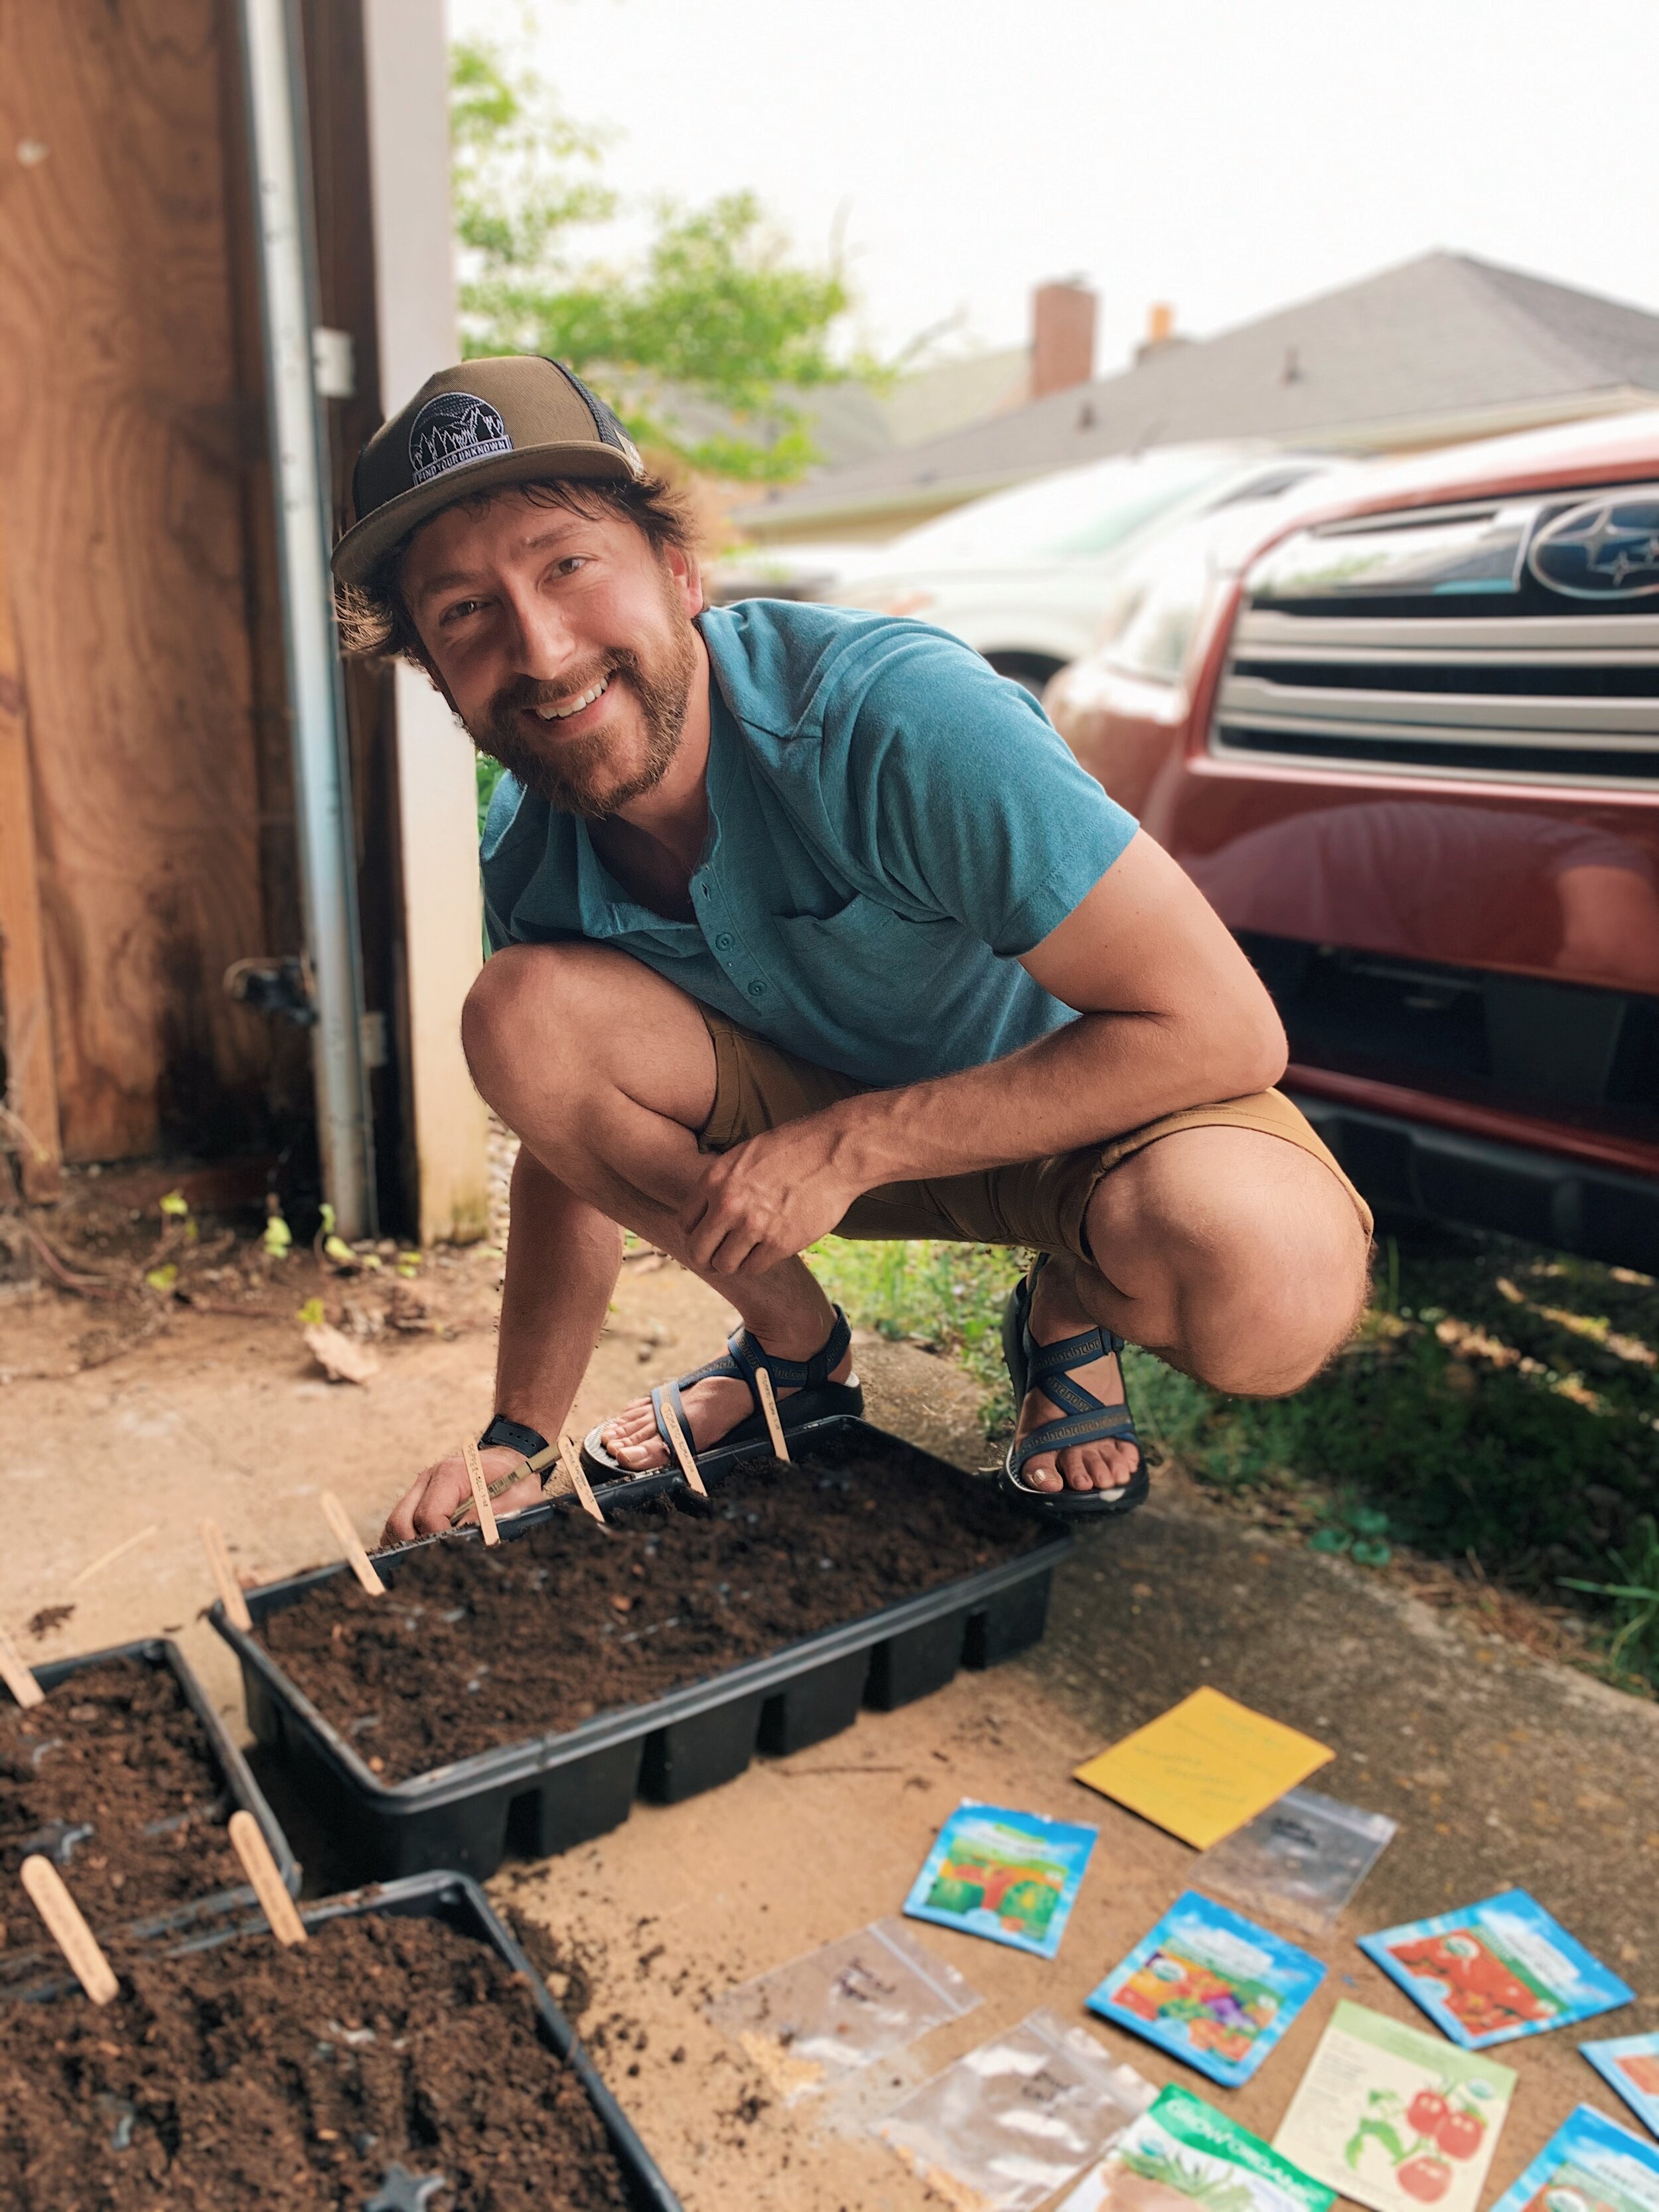
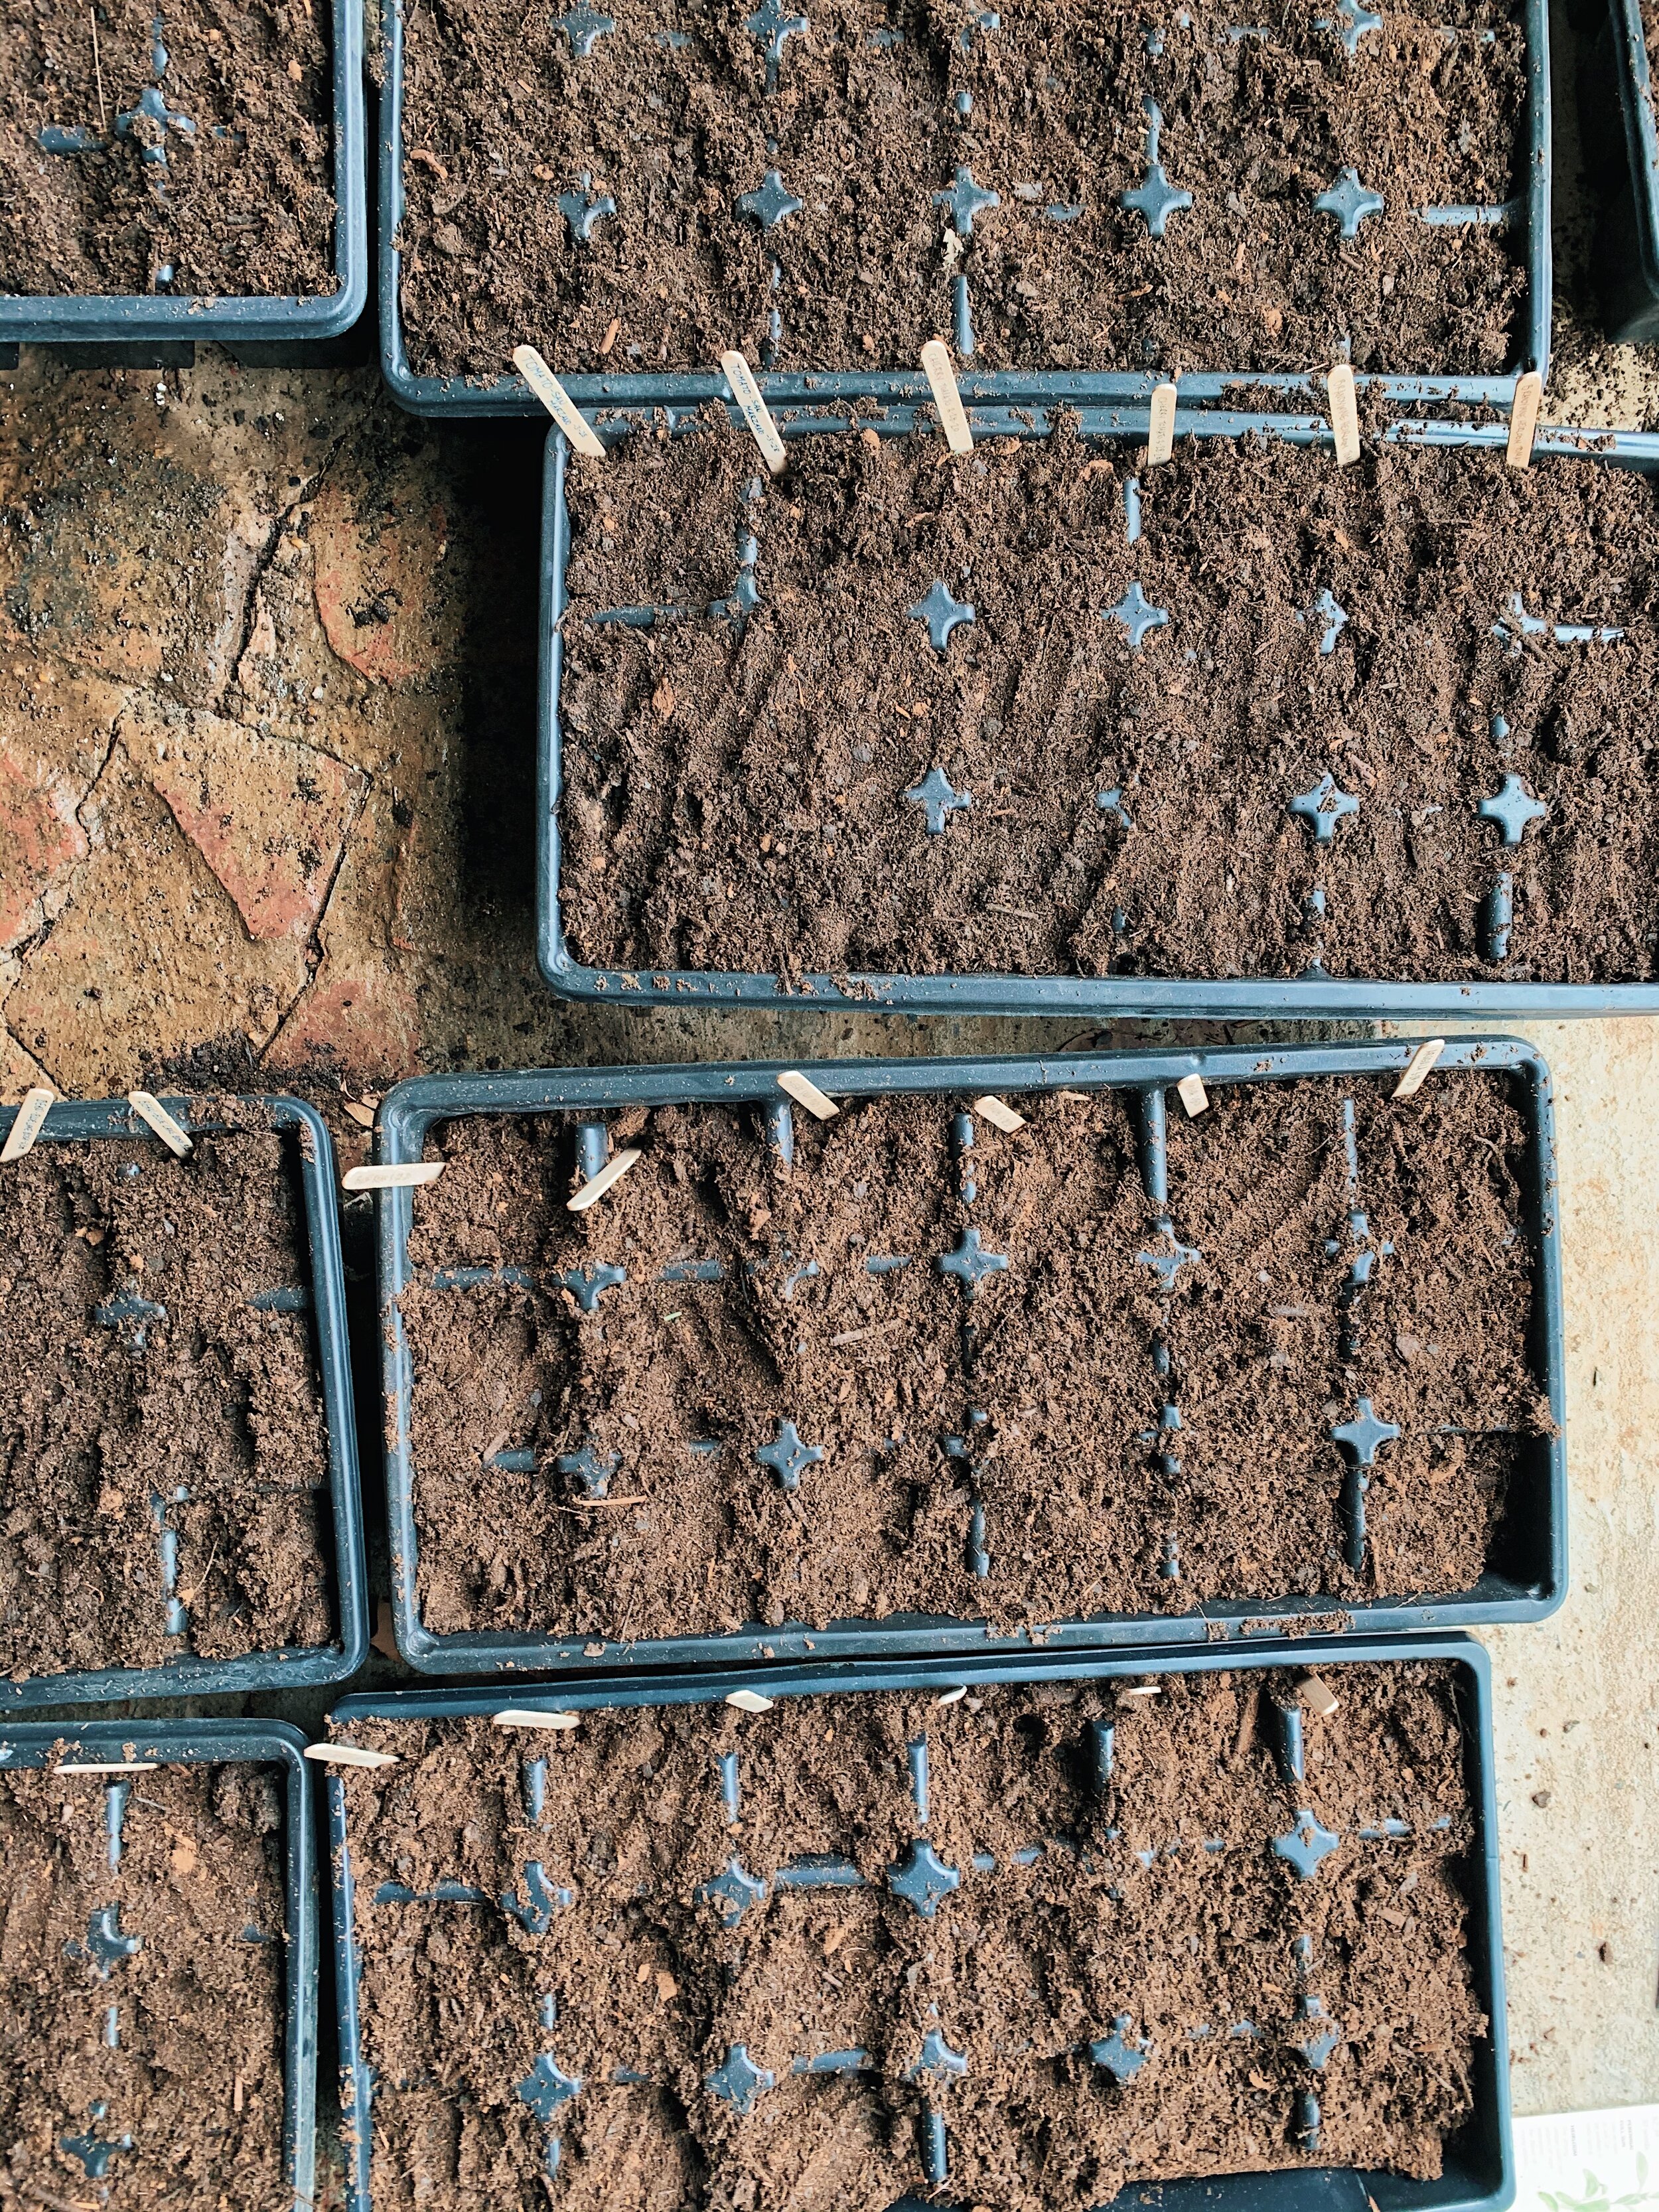
Long before we started land preparation, we started our seedlings indoors.
I’ve only been here for three years, but I feel right at home in the Tennessee Valley’s funky microclimate because my hometown, St Pete, was the same way. Weather reports are just an approximation and the “last frost” could actually mean the third or second-to-last depending how Mother Nature is feeling that week.
We started quite a collection of seeds indoors, which meant that we covered the entire floor of the smallest bedroom (not currently in use for anything but Bryan’s bike trainer and our laundry drying rack) with plastic and tote lids to prevent water damage to the wood floors.
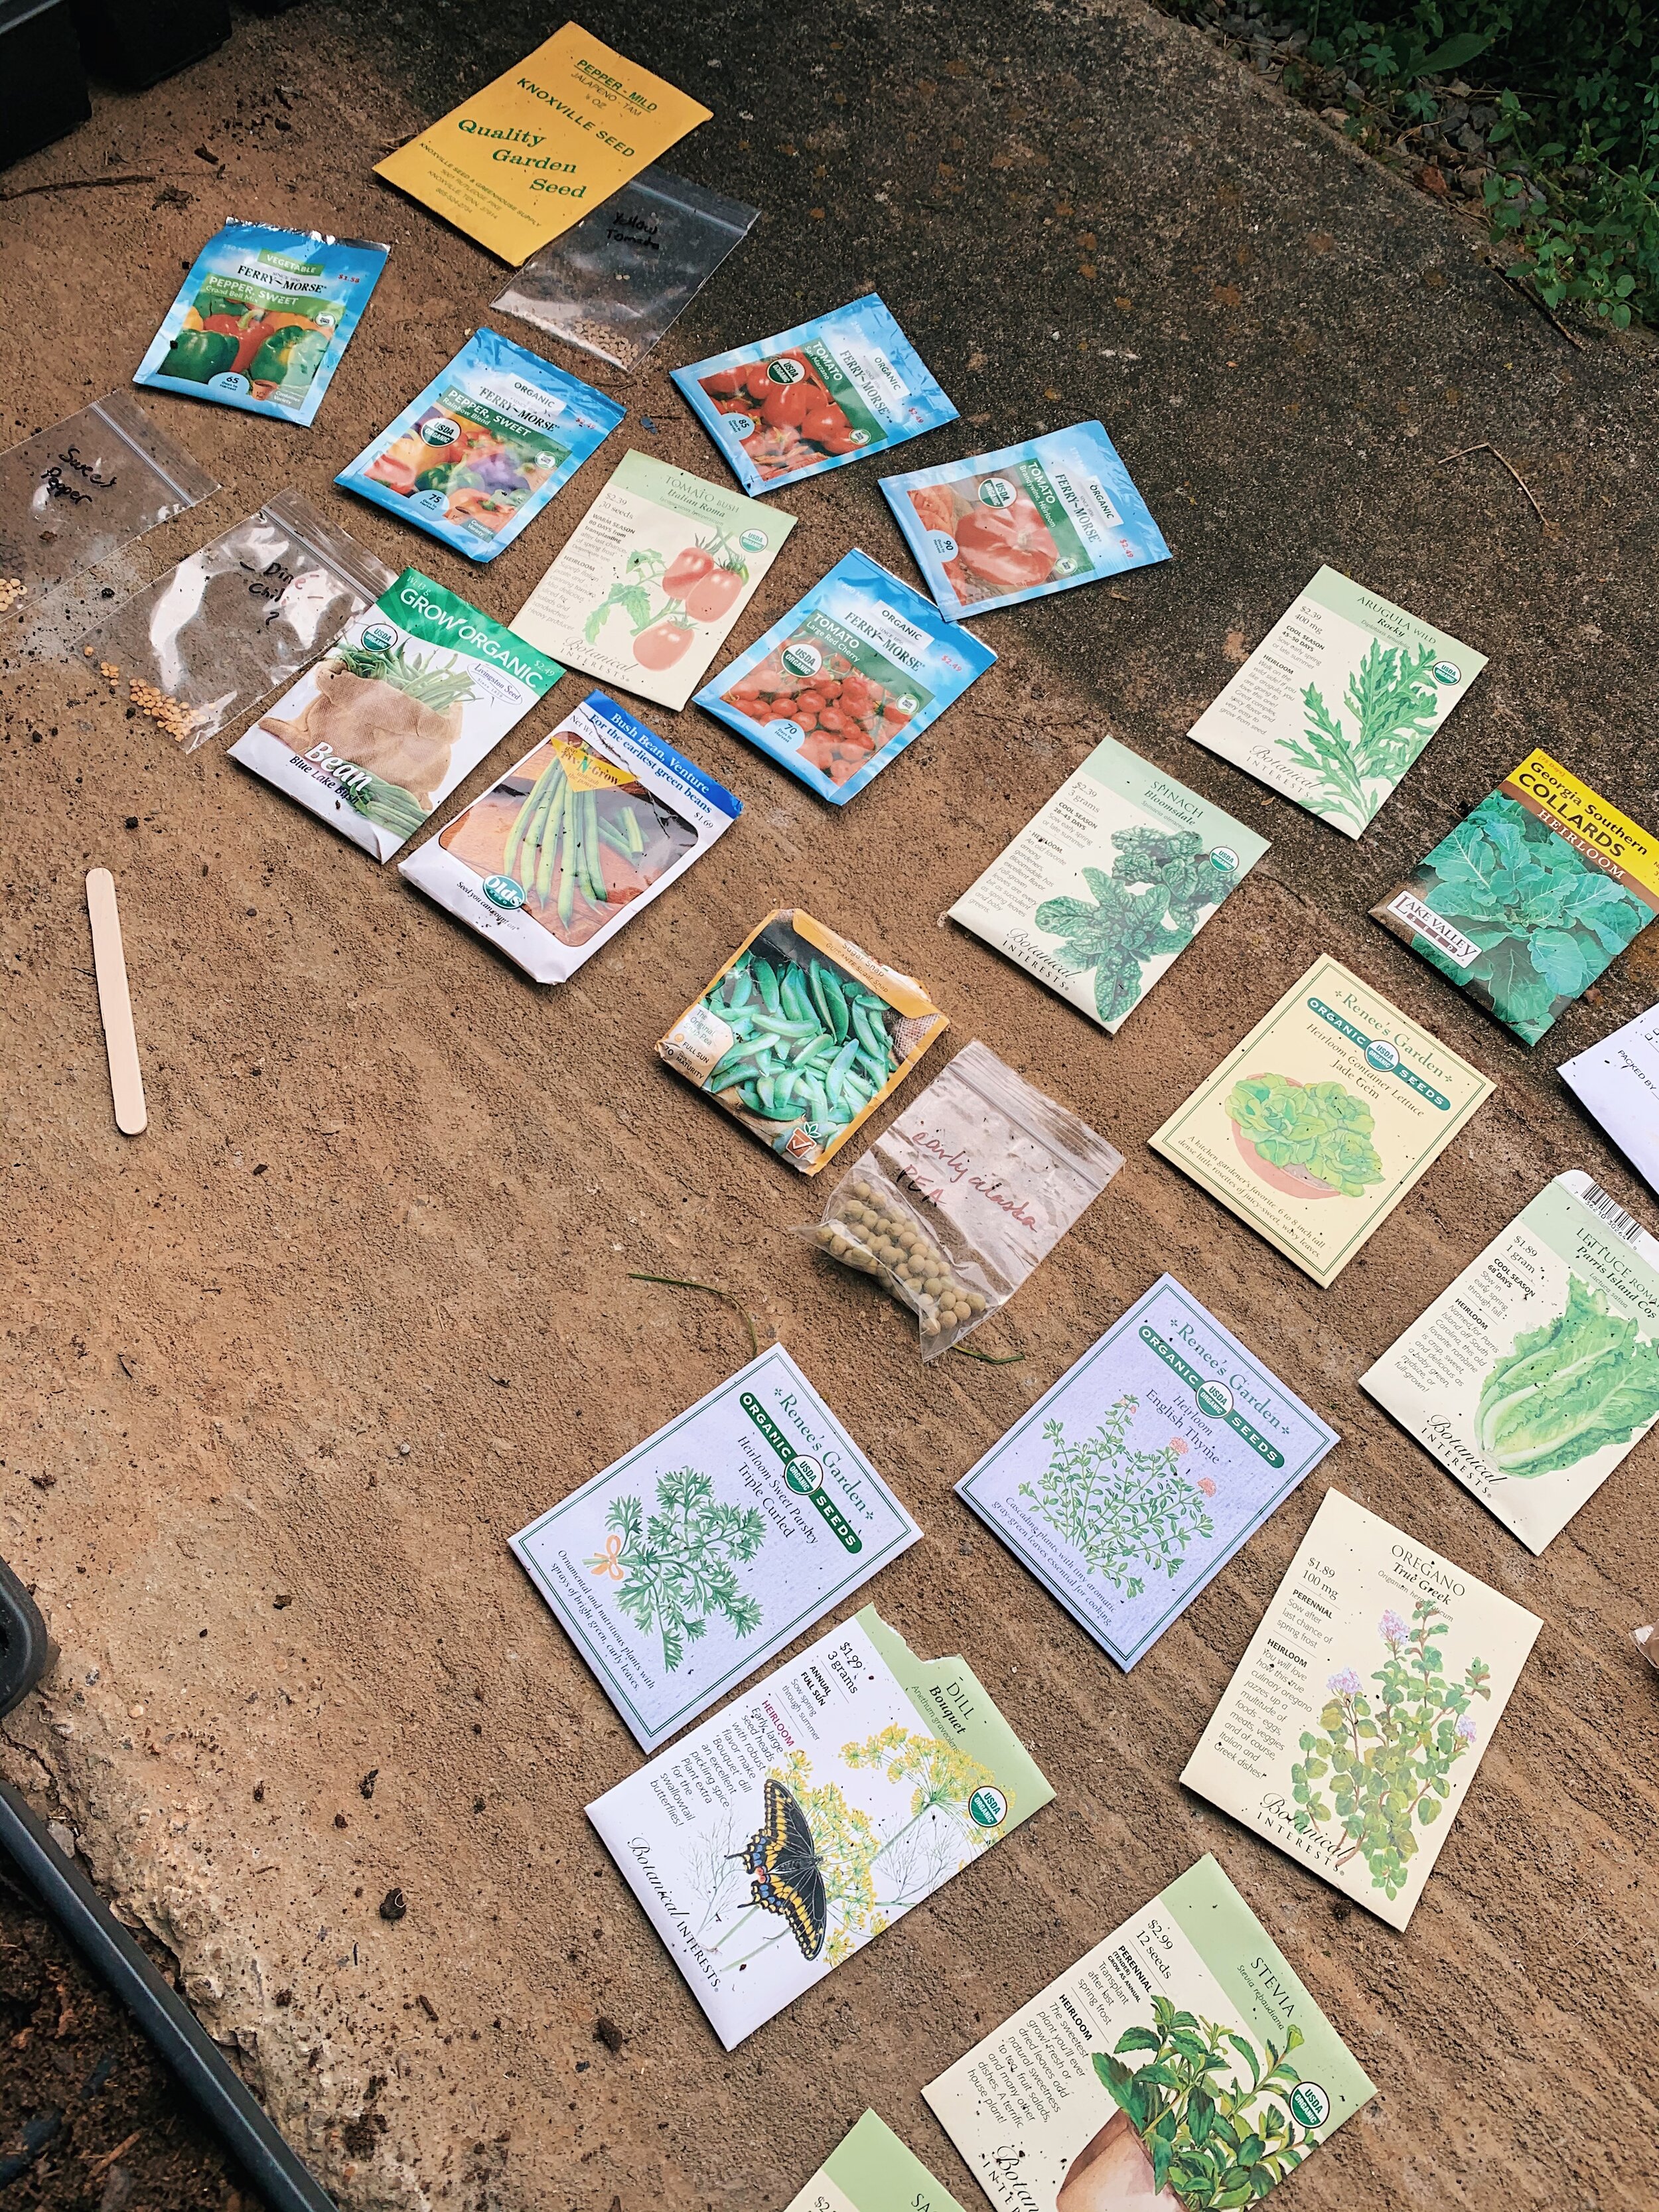
We planted:
Tomatoes: Roma, San Marzano, Yellow, Cherry, Brandywine, and added Sun Ray (free from Beardsley Farms) and a Tomatillo (from our neighbor and resident Mr. Feeny, George).
Peppers: Rainbow bell, green bell, diné (which did not grow), and later, mystery bell peppers from Beardsley Farms.
Bush beans and lima beans.
Early Alaska Peas and later, sugar snap peas.
Greens: Spinach, collards, arugula, Jade Gem lettuce, Romaine, and bowl lettuce (also did not grow).
Herbs: Dill, basil, purple basil, Broadleaf Sage, and stevia, rosemary, and oregano which did not grow.
As of June 2020, we’ve also planted:
Watermelon: Sugar Baby and a mystery striped watermelon from Beardsley Farms
Pumpkins: Striped Cushaw and Sweet Pie
Cantaloupe
Squash (myster from Beardsley that has taken over the garden)
Okra
Pickling and Straight Eight cucumbers
Corn
Sunflowers (our tallest is more than 9 ft!)
Most of our seeds were free from the Beardsley Farms spring seed swap. This is by far the easiest way to get into gardening, as it’s low-risk and you have the opportunity to ask the experts while you’re choosing your crop.
Despite the beautiful weather you see in these photos, April had 2 - 3 frost warnings throughout the month that left us with plants in the bathtub more than once!
April 14 | Freeze Warning (And an actual freeze) have us bring the seedlings in for a week.
After two weeks with black plastic over the garden plot, we borrowed a tiller from a friend and prepare to build the fence!
One of the things Bryan and I have learned on our money makeover journey is to look for ways to not spend whenever the option to spend arises. Is there someone who can lend us a tool? Is there a way to do it ourselves with something we already have? Is there a way we could salvage something broken or find something at the dump or at a thrift store for cheap?
We are so fortunate to have generous friends who lend us their tools and their trucks and even their strength, as friends stepped in to help us pick up toil and till the land.
A little about our soil mix and process:
Try to kill the grass as best as you can so it’s easy to remove. Clear plastic works much better than black yard bags!
Till your land down 4 - 6 inches to soften recently-grassy dirt. Bryan also shoveled out the top layer of grass and dirt and made a fairly sizable dirt pile which we redistributed on our property to fill in holes and eventually, planted pumpkin seed sin the remaining pile. It’s now known as Halloween Hill.
Cover that freshly-tilled earth with newspaper and water the paper as you go (to help it stay down). The watering part was learned during the process as when we were laying the paper, it started to rain. This helped initiate the decomposition process (further soil nutrients) as well as stick the paper to the earth, also creating a weed and grass barrier for our soil mixture.
Ammend the soil with a blend of top soil (basically, sand) for drainage and compost (in our case mushroom compost) for nutrients. We bought these by the “scoop” using a friend’s truck and trailer, which was far more economical and easy than buying plastic bags from a hardware store.
Cover this ammendment with a layer of mulch. I opted to mulch first, plant second, mainly because our seedlings were small and delicate and I didn’t trust myself not to crush them with mulch. After a week or two of mulched earth settling, digging into the mulch to plant the seedlings was no big deal!
I can’t say much about the fence because in truth, I didn’t build it. I don’t even think I lifted a finger during the building process, save for smoothing out some chicken wire while Bryan used the stapler.
This was nerve-wracking. Being a project person, I felt guilty about not being part of every single step. Yet, Bryan assured me that it was my careful planning (which I did on my own) that made it easy for him to build the fence. And, build it he did! I light up every time I walk outside to see the garden because that fence is a work of art.
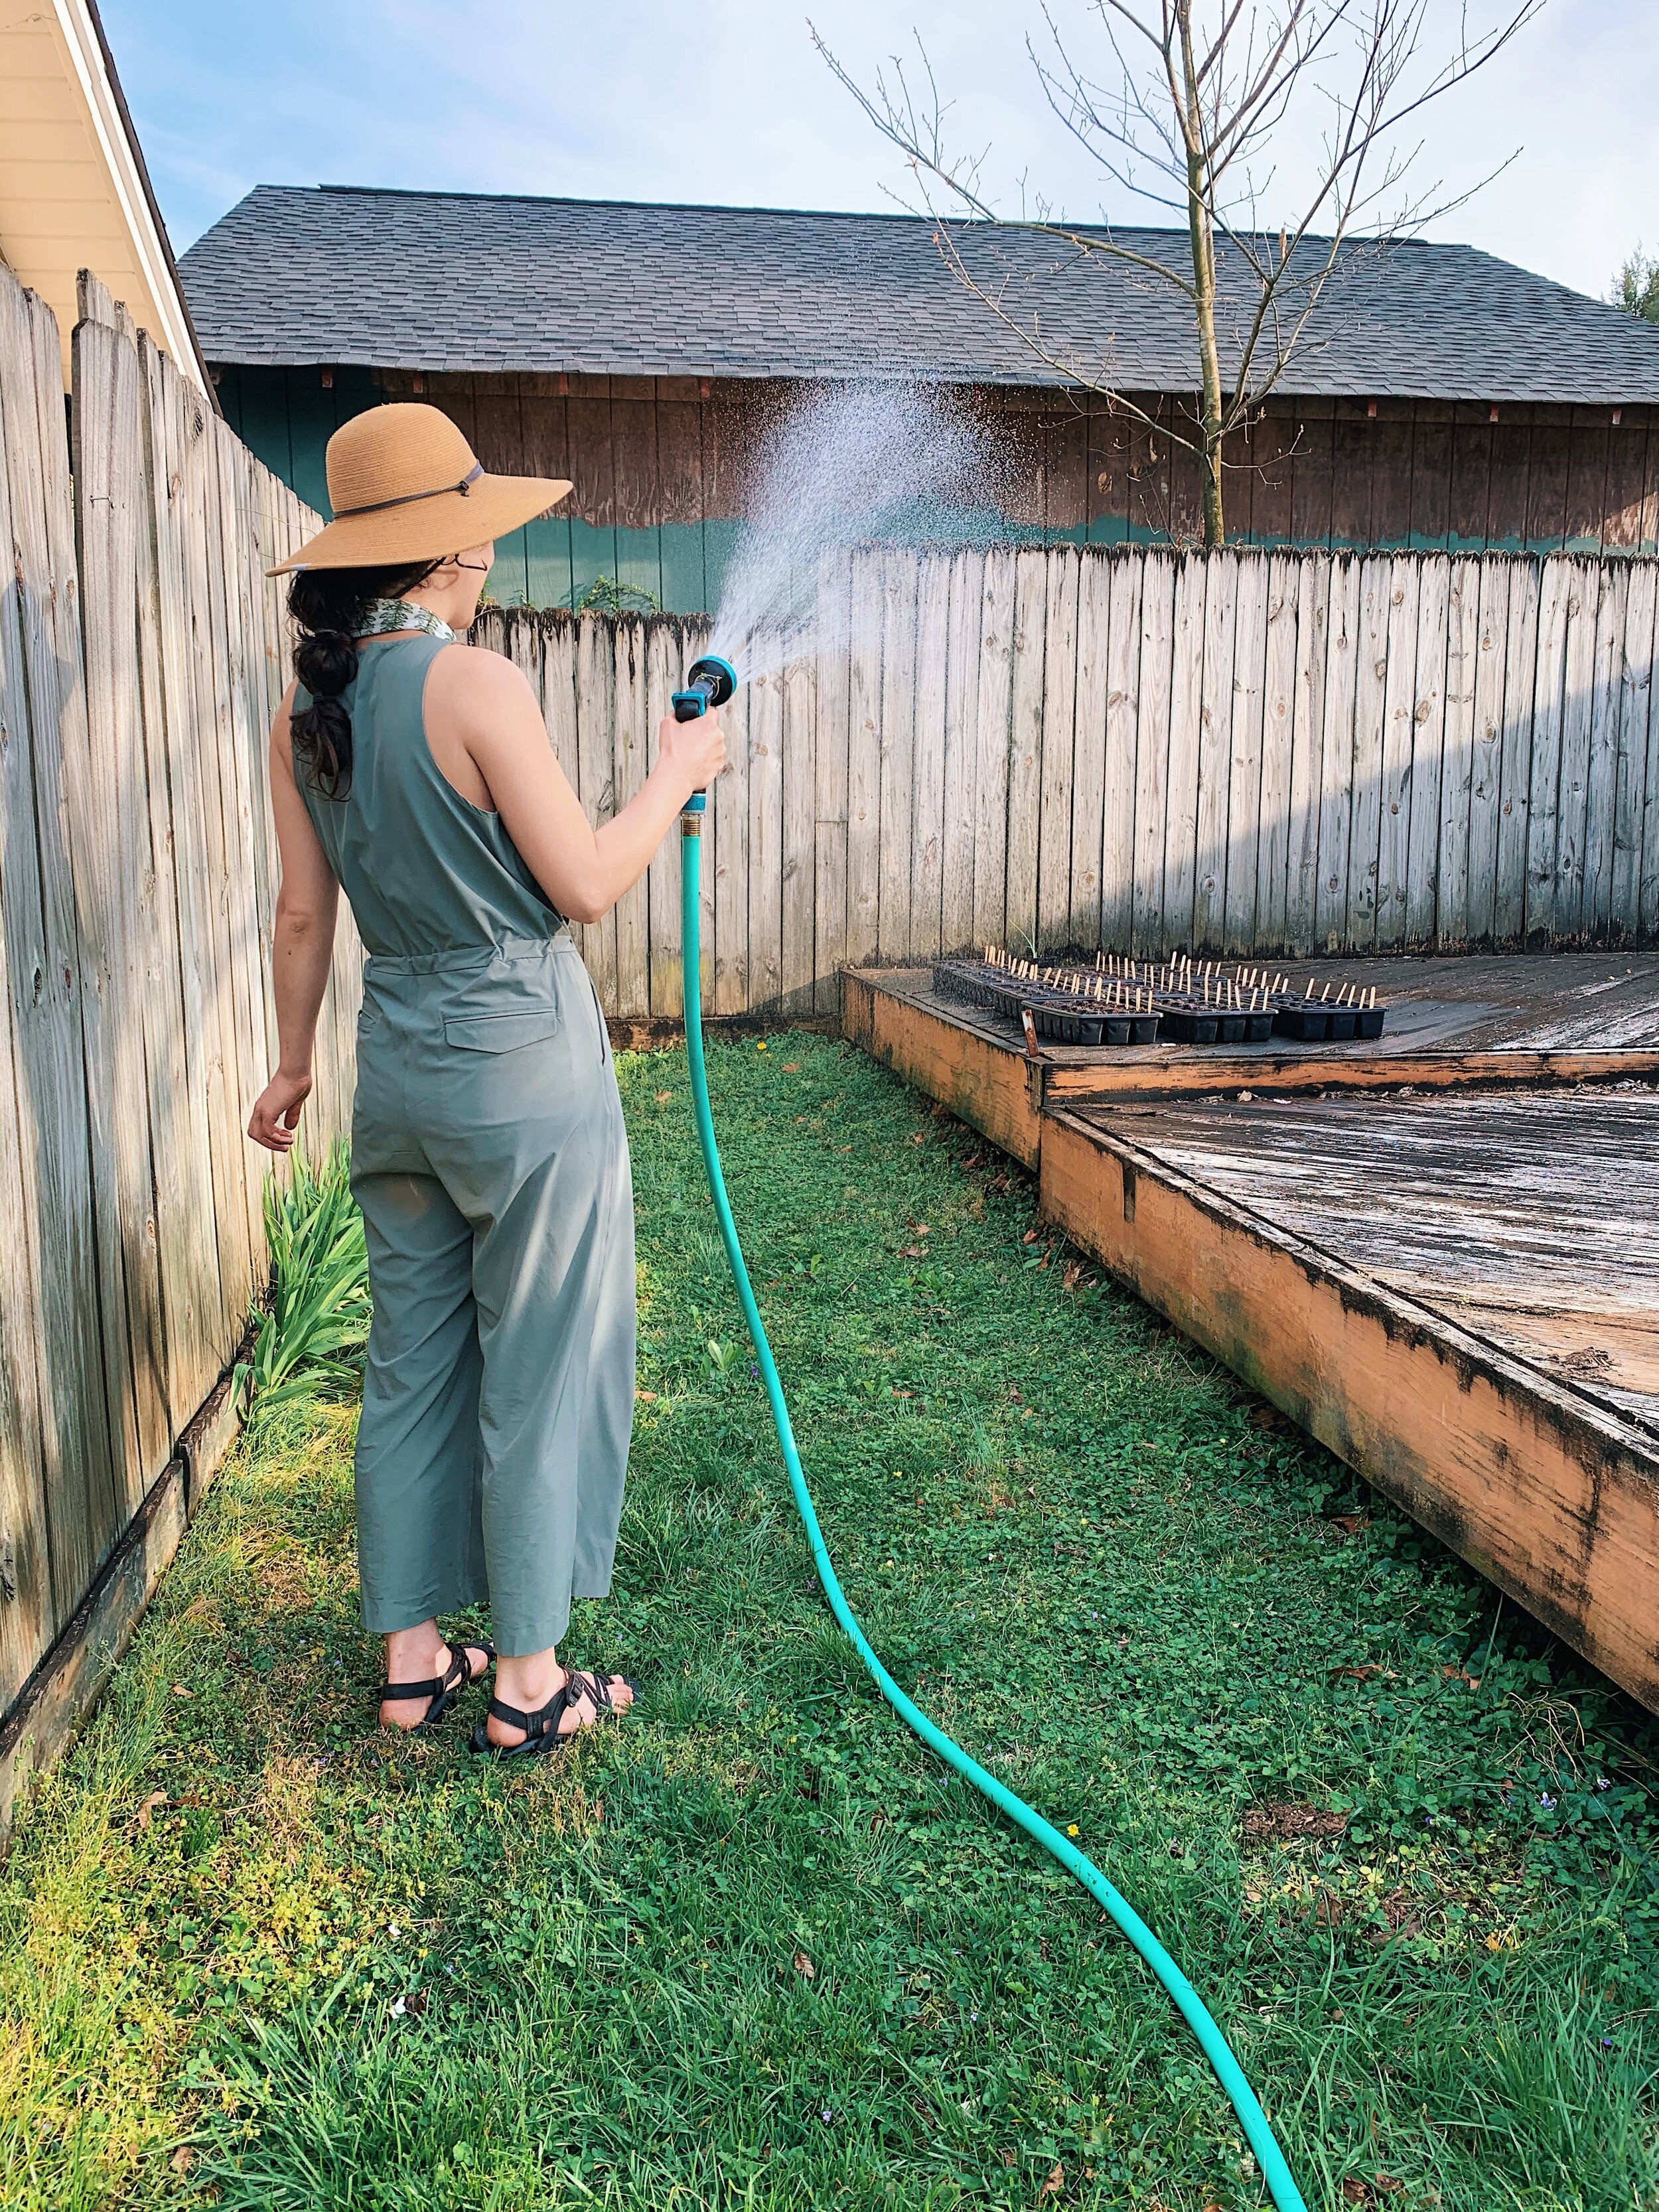
The “plot preparation” process brought us to the first of May, when I erected the trellises (which I highly advise to do as a two-person team), loosely outlined the individual “beds” with bricks, and planted our first seedlings.

My favorite part. Designing and installing the garden layout.
This video from Roots and Refuge Farm on YouTube was the primary inspiration and source for the trellises built in our garden. Their layout is not only gorgeous, but they were resource and price conscious in their construction. I wanted to give our vines the most space to grow and I also wanted that fairytale plant-covered archway to simply stand under and enjoy.
Lessons learned in garden design:
Squash needs so much more room than I could’ve imagined.
Vining plants would do better to not be mixed with other vining plants, especially those with differencing “weights” as my squash is currently choking my sugar snap peas and in a constant wrestly match with my cucumbers.
The square fence wire is strong enough for peas, beans, and cucumbers, but squash and melons would do with something more robust or with more (and taller) framing.
Lettuces would do well with more shade than I gave them, and will plant them nearer to the herbs next time.
Planting large plants near each other causes - surprise - water and resource competition. Nothing (and I mean NOTHING) will grow next to the morning glories I planted for my love, because they are his favorite. They have now taken over an entire portion of fence and I trim them back almost every day.
Also, nothing will grow near my sunflowers as they are taller than every NBA player ever and require a lot of water and nutrients.
Plant fewer seeds but at increased intervals: Instead of planting twenty seeds that could all sprout and root into each other and compete for resources, plant seeds each week and continuing filling holes that don’t have plants. You’ll “waste” fewer plants this way.
Have a plan for the plants you intend to thin. If you’re like me, throwing away a living plant is utterly impossible. But, I couldn’t keep the 30 + tomato plants to needed to thin in order for the core group to survive. So, keep in touch with friends, work colleagues, and community gardens to redistribute your wealth!
May 1 | These are salvaged bricks from other areas of my yard, put in place by previous owners. I wasn’t attached to their location and I needed “stakes” for establishing boundaries. These were a little heavy for the job, but they worked (and were free).
Completing our DIY trellises and transplanting our seedlings were the last big “garden building” steps.
In my next post, I’ll share May - June garden progress and talk a bit about why I’m making the move from social media (where I was originally sharing vignettes of my life) to here on my blog.
This post is the first of my garden progress series and is part of my transition away from social media.
I originally shared our garden processes and other life events on Facebook, but I will no longer be on the platform as of August 2020. In order to stay up-to-date with our garden, our puppy (stay tuned!), and our lives, please subscribe to my RSS feed, which means you’ll receive a simple email notification when I periodically post a new blog.